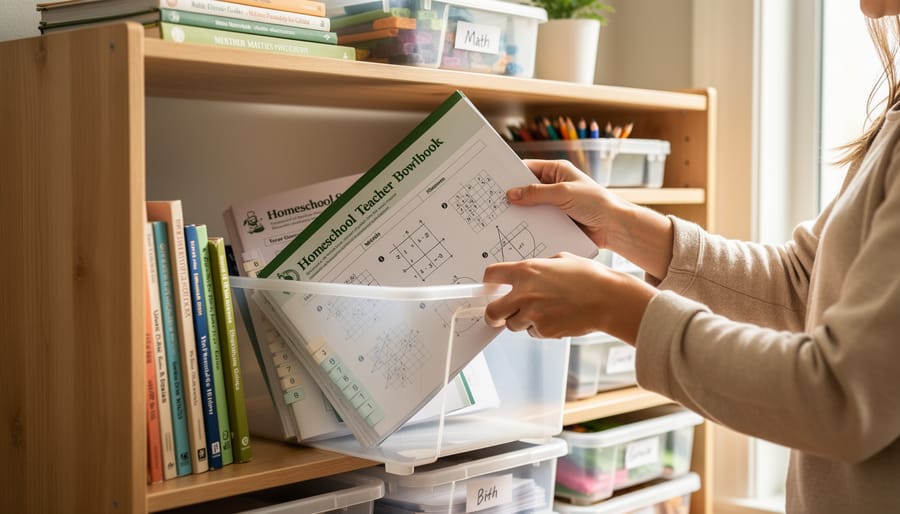
You can organize your homeschool curriculum in about two hours by grouping materials into daily use, weekly rotation, and reference categories, then storing each where you’ll actually use it. This system cuts lesson-prep time by half because you’re no longer hunting for that spelling workbook or last week’s science experiment supplies when three kids are waiting.
I learned this the hard way during our second year of homeschooling. I’d spent a small fortune on beautiful curriculum and felt like a failure every morning as I scrambled through stacks of books while my daughter asked for the third time what we were doing that day. The Pinterest-perfect shelves I’d seen online? They lasted exactly one week before chaos returned.
The truth is, curriculum organization isn’t about making everything look magazine-ready. It’s about creating a system that bends with your family’s real rhythms. When your math manipulatives live in the spot where you do math, and your read-aloud books sit within arm’s reach of the couch, suddenly homeschooling feels manageable instead of overwhelming. This approach works whether you’re following a structured classical program or piecing together an eclectic mix, because it’s built around how you actually teach, not how someone else thinks you should.
What You’ll Need to Set Up Your Curriculum Organization System
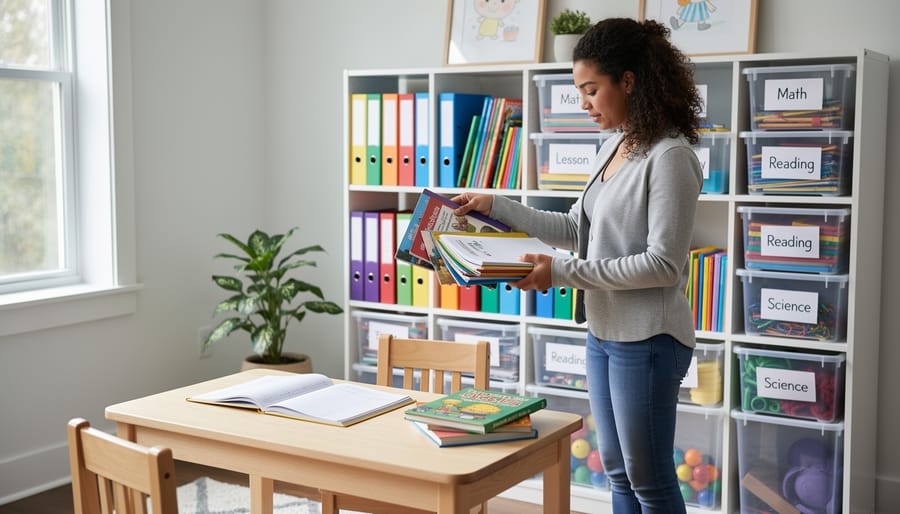
You don’t need to spend a fortune to get your curriculum organized. When I first started homeschooling, I used cardboard boxes labeled with masking tape and a Sharpie. It worked perfectly fine until I could afford better options. The key is matching your supplies to your actual needs, not your Pinterest dreams.
Here’s what you’ll need to create a functional system:
Basic Storage Solutions:
- Clear plastic bins or totes with lids for storing complete units or subjects
- Magazine holders or file boxes for workbooks and teacher guides
- A bookshelf or shelving unit you already own (even a repurposed dresser works)
- Baskets or bins for daily-use materials
Labeling System:
- Label maker or printable labels (or just cardstock and a marker)
- Washi tape or colored tape for quick color-coding by subject or child
Organization Tools:
- Binder clips for keeping worksheets together
- Manila folders or clear plastic sleeves for loose papers
- A simple filing crate or accordion folder for papers you need to reference weekly
Most families can pull together a working system for under $50 using what they already have plus a few Dollar Store purchases. If you’re setting up a dedicated space from scratch, check out these under $200 ideas for creating functional homeschool areas without breaking your budget.
The upgrade path looks like investing in matching storage containers, a dedicated bookshelf system, or a rolling cart for materials you move between rooms. But start simple. You can always upgrade later once you know what actually works for your family’s rhythm.
Before You Start: Three Things That Will Save You Time
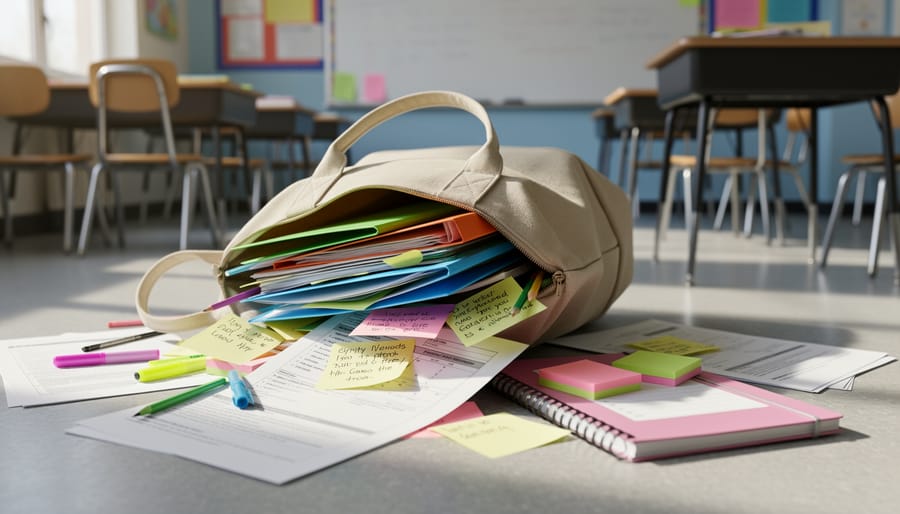
Before you pull out a single storage bin or start alphabetizing workbooks, stop. These three mistakes will cost you hours of effort and leave you right back where you started.
First, don’t organize what you haven’t purged. I see this constantly, parents spending a Saturday creating beautiful systems for curriculum they never open. You’ll move unused materials from one spot to another, label them carefully, and then ignore them for another year. It’s exhausting and pointless. Sort through everything first, make hard decisions about what’s actually serving your kids, and only then create homes for what remains.
Second, resist buying storage solutions before you know what you’re storing. I learned this the expensive way when I bought matching bins that ended up too small for our math manipulatives and too large for our flashcards. Gather your materials, sort them into categories, measure the actual space you’re working with, and then shop. Sometimes cardboard boxes work better than fancy systems anyway.
Third, don’t build a system so complex that maintaining it becomes another chore you’ll abandon by October. If your organization requires color-coded labels, multiple steps to retrieve materials, or a filing system only you understand, it won’t survive real life with kids. Simple systems you’ll actually use beat elaborate setups that look great for a week.
Step-by-Step: Creating Your Curriculum Organization System
Step 1: Gather Everything in One Place
Set aside an hour and grab a laundry basket or large box. Your mission is simple: hunt down every workbook, teacher guide, flashcard set, and loose worksheet hiding in your house.
Start with the obvious spots, your designated school area, the kitchen table, bookshelves. Then check the places homeschool materials actually live: under couch cushions, in your car’s backseat, beside beds where kids do independent reading, in the bathroom magazine rack, tucked into random kitchen drawers.
Don’t forget bags. That tote you used for co-op three weeks ago? Still has last month’s art supplies. The backpack from your library trip? Probably harboring overdue readers and half-finished math pages.
Pull everything into one central location. Yes, it’ll look overwhelming. That pile of chaos represents your reality right now, and you can’t organize what you can’t see.
Resist the urge to start sorting yet. Just gather. You’ll find curriculum you forgot you owned, three copies of the same phonics program, and enough pencils to supply a small school district.
Step 2: Sort by Subject and Frequency of Use
Now that everything’s spread out, resist the urge to just shove it all into subject bins. That’s what I did my first year, and I ended up with a “Math” container holding everything from daily workbooks to a geometry set we used twice. Not helpful.
Instead, sort by how often you actually touch each item. Grab your math materials and split them into two piles: stuff you use every single day (workbooks, teacher guides, manipulatives) and stuff you need occasionally (enrichment books, seasonal activities, that fraction game you play once a month). The daily pile goes in your most accessible spot. The occasional pile can live further away.
Do this for every subject. Your daily science curriculum and the experiment supplies you use weekly? Keep them together. Those beautiful nature study guides you reference seasonally? They can go on a higher shelf.
Here’s how I handle multi-subject resources versus single-subject ones: if a book serves multiple kids or subjects (like an atlas or grammar handbook), it gets its own “Reference” bin that stays centrally located. Single-subject materials stay with that subject’s station. My read-aloud books that connect to history? They live with history, not in a separate “Read Aloud” category, because that’s when we actually need them.
The goal is to sort based on your real rhythm, not some ideal homeschool vision you saw online.
Step 3: Purge What You’re Not Using
This is where homeschool moms get stuck. You’re staring at that $200 math program you used for three weeks, and the guilt is crushing. Here’s what I learned the hard way: keeping curriculum that doesn’t work doesn’t honor the money you spent, it just clutters your space and your mind.
Ask yourself three questions: Have we used this in the last month? Does it match how my child actually learns? Would I buy this again knowing what I know now? If the answer is no, it goes.
That expensive science kit gathering dust? Another family will use it. The workbooks your kid hates? They’re taking up space you need for materials that actually help. I’ve donated hundreds of dollars worth of curriculum, and not once have I regretted clearing that mental and physical space.
Take photos of materials before letting them go if you need closure. Sell what you can to fund what works better. Donate the rest to your co-op or library. But get it out of your active teaching space. You can’t organize chaos, you can only remove it.
Step 4: Create Subject Stations or Zones
Now that you’ve decided what stays, it’s time to give everything a home. Subject stations aren’t about creating an Instagram-worthy classroom, they’re about putting your math supplies where you do math and your art materials where you make art.
Look at how you actually teach. If you do morning basket on the couch, that’s where readers and poetry books belong. If science happens at the kitchen table, create a science zone nearby, maybe a rolling cart or designated cabinet shelf. The goal is zero trips across the house mid-lesson.
For textbook families, stations might be shelf sections labeled by subject. Charlotte Mason homeschoolers often need station zones for living books, narration journals, and nature study supplies grouped together. Unschoolers might organize by interest areas instead, building materials here, art supplies there, reading nook over there.
I learned this the hard way when our history curriculum lived upstairs but we did history downstairs. Moving everything to a basket near our teaching spot cut our setup time in half. Your stations don’t need matching bins or cute labels, they just need to match your family’s actual patterns.
Work with your existing homeschool space setup rather than fighting it. Use the furniture and rooms you have. The best station is the one you’ll actually use tomorrow morning.
Step 5: Label Everything Clearly
Labels only work if everyone can read and use them. Skip the cute Pinterest labels and choose simple text that your youngest reader can decipher. For non-readers, add picture labels, a crayon icon for art supplies, a stack of books for reading materials. Place labels at eye level for your kids, not where it looks best to you.
I learned this the hard way after creating beautiful color-coded labels my six-year-old couldn’t interpret. When I switched to “Math, Grade 3” in large print with a number symbol, she started returning materials independently.
Use a label maker if you have one, but masking tape and a Sharpie work just as well. The key is consistency, label shelves, containers, and individual book baskets. Update labels when curriculum changes rather than crossing out old names. A quick re-labeling session at the start of each school year keeps the system current without requiring daily maintenance.
Step 6: Build in Daily Reset Routines
A ten-minute reset at the end of each school day prevents your organized system from slowly dissolving back into chaos. Build this directly into your homeschool day rather than treating it as “cleaning up after school”, it’s the final subject of the day, not an optional extra.
Set a timer for ten minutes and make it a team effort. Younger kids return manipulatives and picture books to their bins while older students file worksheets and shelve textbooks. Everyone clears their workspace before moving on to free time. This habit maintains a tidy, organized home without requiring a massive weekend overhaul.
Connect this curriculum reset to your broader homeschool rhythm. If you’re using a kindergarten schedule or other structured routine, the reset naturally follows your last lesson block. Materials go back to their zones, tomorrow’s supplies move to the ready position, and completed work goes into the filing system you established.
The key is consistency, not perfection. Miss a day and you’ll have twenty minutes of sorting ahead. Skip three days and you’re back where you started.
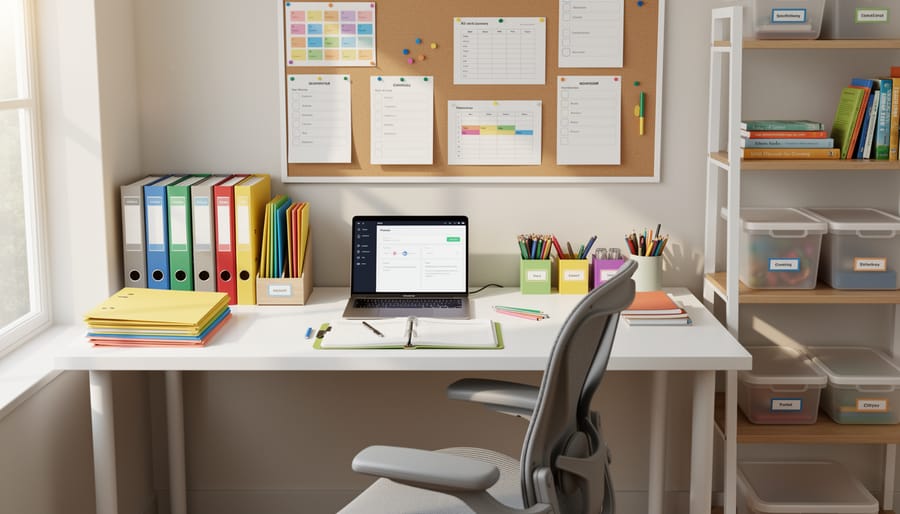
How to Know Your System Is Working (and What to Do If It’s Not)
Your system is working when you can start your school day without hunting for materials. If everyone in your family knows where to find what they need and can put it back without confusion, you’ve created something sustainable. You should feel less stressed about the logistics of teaching and more focused on your actual kids.
Watch for these red flags that signal adjustment time: materials consistently ending up on the dining table instead of in their zones, kids asking you where things are multiple times a day, or you feeling frustrated during lesson transitions. These aren’t signs of failure, they’re feedback that your current system doesn’t match your family’s actual patterns.
When materials keep migrating, simplify rather than adding more rules. If your kids dump everything on the table instead of returning items to labeled bins, the bins might be in the wrong location or the categories too complicated. Move the storage closer to where you actually teach. If you’re the only one maintaining the system, it’s too complex, make it easier for everyone to participate.
Sometimes you need more structure instead of less. If you’re constantly searching for the next lesson in a curriculum guide, you might need a weekly planning spot separate from daily materials. This is where homeschooling journals become powerful, they help you track what’s working and what’s creating friction in your setup.
Give any system at least two weeks before major overhauls. Initial awkwardness is normal as everyone adjusts to new routines. But if the same problem persists after a month, trust your frustration and change something.
Making It Work for Different Homeschool Styles
Your curriculum organization system should flex to match how you actually teach, not force you into someone else’s method.
Classical homeschoolers using structured programs like Classical Conversations need stations organized by the trivium stages, grammar, logic, rhetoric, rather than traditional subject labels. Keep memory work cards and recitation materials in a daily-access basket, while reference books and rhetoric resources can live on higher shelves for later years.
Charlotte Mason families relying on living books need generous shelf space organized by subject or topic, with room for library rotations. I keep current term books face-out in a basket system, with backup titles stored spine-out behind them. A simple checkout system helps track what worked with each child.
Unschoolers need flexibility zones instead of fixed subject stations. Organize by interest area or project type, with materials easily accessible to kids without asking permission. Open bins labeled “art supplies,” “building materials,” or “science experiments” work better than rigid curriculum boxes.
Eclectic homeschoolers mixing approaches often need hybrid systems, maybe structured math stations but flexible literature baskets. Create clear homes for your scheduled subjects while keeping exploratory materials in accessible browsing areas. The key is organizing what needs routine while leaving space for spontaneity.
The system that supports your teaching philosophy, not fights it, is the one you’ll actually maintain.
Common Questions About Organizing Homeschool Curriculum
You’ve set up your system, but real life keeps throwing curveballs. Here are the questions I hear most often from homeschool parents who are working to keep their curriculum organized.
How do I organize curriculum when I’m teaching multiple grade levels?
Create separate bins or shelves for each child’s independent work, then designate a shared area for subjects you teach together. Color-coding by student or using photos on bins helps younger kids identify their materials without reading labels.
What should I do with curriculum from previous years?
Keep only what you’ll actually reuse for younger siblings or reference later, teacher guides, hands-on materials, and favorite resources. Box everything else by year and grade, label it clearly, and store it in a closet or garage for a semester before deciding whether to donate or sell.
How can I organize homeschool materials in a small space?
Use vertical space with wall-mounted shelves or over-door organizers, and rotate materials seasonally so only current subjects stay accessible. A rolling cart that fits under a bed or in a closet can hold an entire week’s worth of curriculum and wheel out when needed.
How often should I reorganize my curriculum system?
Do a quick evaluation every quarter to weed out completed work and unused materials. Save major reorganization for summer when you’re planning the next school year and can assess what worked and what created frustration.
What if my kids won’t put materials back where they belong?
Simplify your system until returning items becomes genuinely easy, fewer categories, larger containers, obvious homes. Make cleanup part of the school day rather than something that happens later, and consider whether your kids can actually reach and access the storage spots you’ve designated.
The biggest shift happens when you stop trying to maintain someone else’s organizational ideal and build a system around your actual family patterns. I spent years fighting my kids about a complex filing system before realizing they’d consistently use three labeled bins but ignore anything more detailed. Sometimes the best organization is the simplest one that actually gets used.
If a question keeps coming up in your household, where does this go, where did we put that, why can’t I find my math book, that’s your system telling you it needs adjustment in that specific area. Listen to those friction points instead of assuming you or your kids just need to try harder.
Look, organized curriculum doesn’t need to be beautiful. It just needs to work when you’re standing in your living room at 9:47 AM trying to find that math workbook before the baby wakes up from her nap.
If your system means the kids can grab what they need without asking you seventeen questions, you’ve succeeded. If you stop losing half your day to searching for materials, that’s a win. The goal isn’t magazine-worthy shelves, it’s reclaiming your time and mental energy for the actual teaching part of homeschooling.
I still have some supplies in cardboard boxes. One of my subject stations is basically a corner of the dining room. Sometimes worksheets pile up for three days before we reset. And you know what? We still get through our lessons, my kids are learning, and I’m not drowning in curriculum chaos anymore.
Start with whatever system you can actually maintain. A simple routine you’ll follow beats an elaborate setup that falls apart in two weeks. Give yourself permission to adjust as you go, to simplify when life gets hectic, and to remember that organization serves your family, your family doesn’t serve the organization system.
You’ve got this. Even the messy, imperfect version is progress.