Breathe. That Pinterest-perfect homeschool room with the $3,000 custom shelving system? You don’t need it. What you actually need to start homeschooling costs less than one month of daycare—often under $200 for the entire year.
I’ve homeschooled four kids on a tight budget, and here’s what I learned: your kitchen table works better than a dedicated classroom, library cards are worth more than any curriculum subscription, and that expensive learning tower gathering dust in online marketplaces? Someone’s selling it for $20 because their kids outgrew it in six months.
The homeschool Instagram accounts showing color-coordinated book baskets and matching desk sets aren’t showing you the reality: successful homeschooling happens in living rooms with mismatched furniture, at park picnic tables, and in backyards with nothing but sidewalk chalk. Those families aren’t necessarily teaching their kids better—they’re just staging better photos.
When you’re starting your homeschool journey, the pressure to create an ideal learning environment can derail you before you begin. But education quality has zero correlation with room aesthetics or price tags. Your children need engaged teaching, consistent routine, and access to books—not Instagram-worthy spaces.
This guide breaks down the actual costs of homeschool room essentials, from the absolute must-haves (around $50) to the nice-to-have upgrades (under $150), plus where to find them for pennies on the dollar. Because the best homeschool investment isn’t furniture—it’s your time and creativity.
Why Your Homeschool Room Doesn’t Need to Look Like Pinterest
Let me tell you something that took me far too long to learn: those picture-perfect homeschool rooms on Pinterest are beautiful, but they have absolutely nothing to do with whether your children will learn to read, master fractions, or develop a love of history.
When we started homeschooling, our “classroom” was our kitchen table. We stored supplies in a repurposed diaper box, and our bookshelf was a wobbly hand-me-down from my sister. I’d scroll through Instagram seeing these gorgeously curated learning spaces with matching bins, perfectly organized shelves, and coordinated color schemes, and I’d feel like I was already failing my kids before we’d even finished our first week.
But here’s what happened: my daughter learned her multiplication tables at that scratched-up kitchen table. My son discovered his passion for science using library books stacked on that wobbly shelf. The diaper box held the pencils that wrote beautiful stories and solved challenging math problems.
The truth is, children don’t need aesthetic perfection to thrive academically. They need engaged parents, access to learning materials (however humble), and an environment where curiosity is encouraged. Some of the most successful homeschoolers I know work from couches, dining tables, or even outdoors when weather permits.
Function will always trump form in education. A cardboard box holding well-loved books serves the exact same educational purpose as a designer bookshelf. Save your money and your sanity by focusing on what actually matters: creating a space where learning can happen, not where photographs can happen.
The Essential Elements Every Homeschool Room Actually Needs
A Designated Learning Space (Not a Dedicated Room)
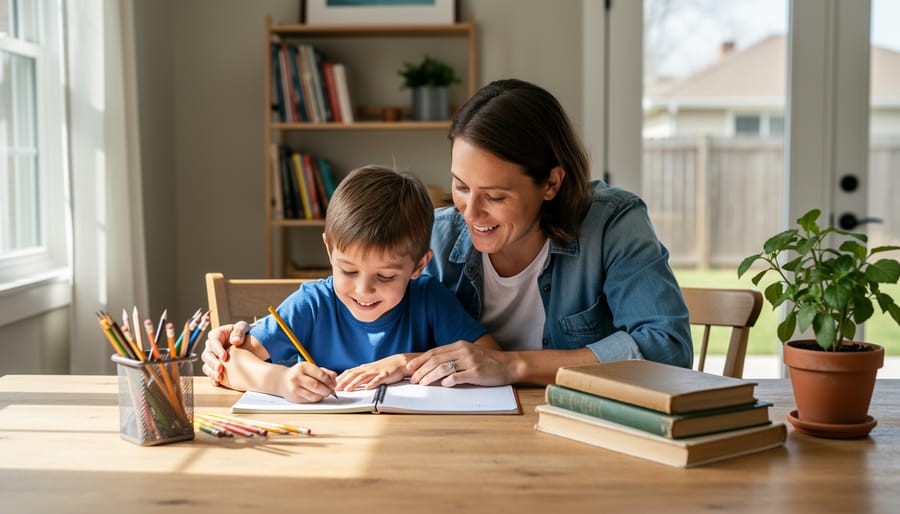
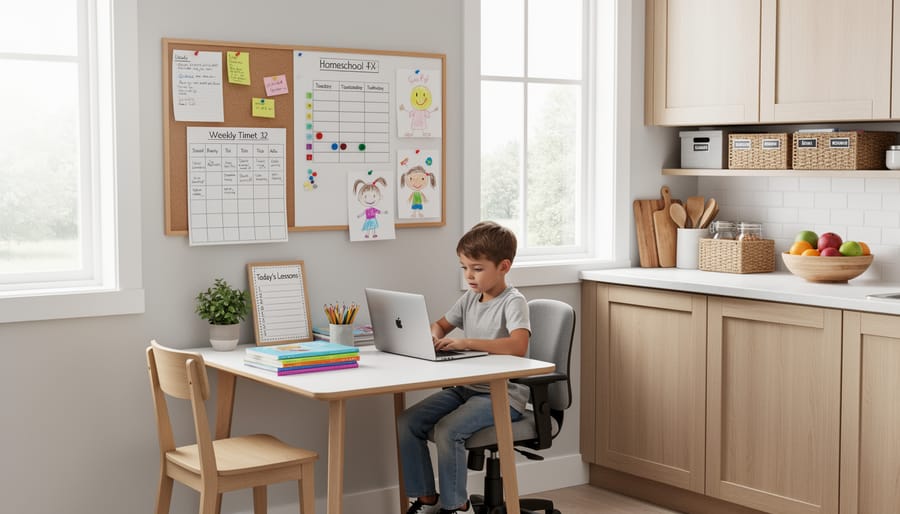
Let me tell you something liberating: you don’t need a Pinterest-worthy homeschool room to give your kids an excellent education. When we started homeschooling, our “classroom” was literally one end of our dining room table. I’d clear away breakfast dishes, and that wooden surface transformed into our learning hub for the day.
The kitchen table remains one of the most popular homeschool locations for good reason. It’s already there, costs you nothing, and keeps you close to coffee (essential!). One mom I know uses a rolling cart from the dollar store to wheel supplies to wherever her kids are working that day—sometimes the couch, sometimes the backyard picnic table.
A corner of a shared bedroom works beautifully too. Grab an inexpensive desk or even a lap desk for bed-based learning. I’ve seen families use tension rods and curtains to create a semi-private nook in a bedroom for about fifteen dollars. A friend repurposed an old closet by removing the doors and adding a small desk inside—instant cozy study spot.
The key is consistency, not perfection. Pick one spot that signals “learning time” to your kids, even if that spot serves three other purposes throughout the day. Your homeschool space just needs to be functional, not Instagram-ready.
Storage That Actually Works
You don’t need fancy storage systems to keep your homeschool organized. I learned this after wasting money on matching bins that my kids never used properly! The reality is that simple, accessible storage works better than elaborate setups.
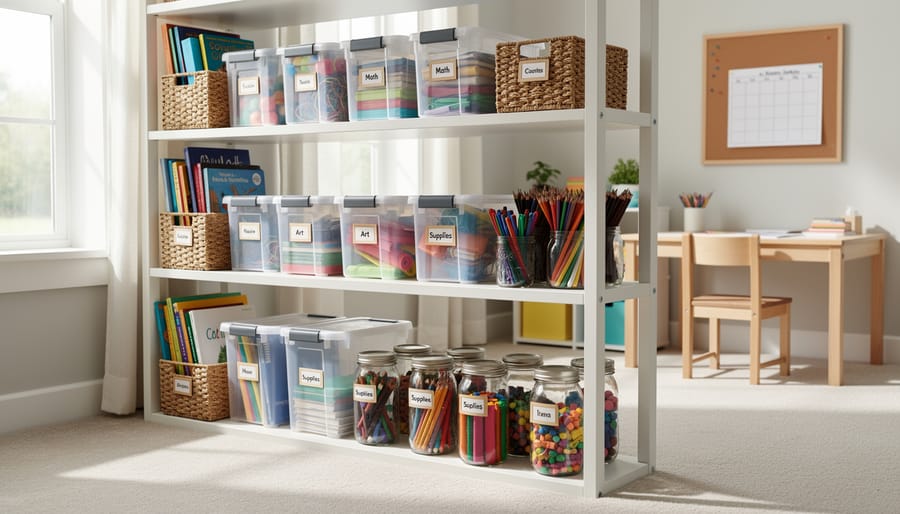
Start with what you already have. Shoeboxes work perfectly for storing flashcards, craft supplies, and small manipulatives. Label them with masking tape and a marker—nothing fancy required. Old coffee cans or pasta sauce jars are ideal for pencils, crayons, and scissors.
For books, consider plastic crates from the dollar store (around $1-3 each) or cardboard magazine holders. I’ve found these work just as well as expensive cube organizers. Stack them on the floor or on existing shelves you already own.
A rolling cart from discount stores (about $15-25) has been my secret weapon. It holds our current workbooks and supplies, and we can wheel it to wherever we’re learning that day—the kitchen table, living room, or even outside.
The key is keeping storage at kid-height and simple enough that children can clean up independently. When systems are complicated, they don’t get used. Remember, you’re building learning habits, not a Pinterest-worthy classroom.
A Comfortable Place to Read and Think
Every child needs a comfortable spot where they can curl up with a good book or quietly think through a problem. The good news? You don’t need to spend a fortune to create this special space. When my kids were younger, we transformed an old armchair with a $5 yard sale throw blanket and some cushions I already had. One of my daughters claimed the corner behind our couch, adding pillows and a small basket for her books—total cost: zero dollars.
A bean bag from a discount store (often $20-30) works wonderfully, or simply layer some floor pillows in a corner. Check Facebook Marketplace or Goodwill for gently used reading chairs. Even a cardboard box turned on its side with a cushion inside becomes a cozy reading cave that kids absolutely love. The key is creating a space that feels inviting and separate from the main learning area, giving children a place to recharge and explore books independently.
Budget-Friendly Furniture Solutions That Won’t Fall Apart
When I first started homeschooling, I made the mistake of thinking we needed brand-new everything. I nearly dropped $800 on a complete desk and bookshelf set before my sister talked some sense into me. Instead, I spent $150 total and found pieces that have survived five years of daily use and three active kids.
The secret isn’t where you buy furniture, but knowing what to look for. A wobbly table leg can be fixed with wood glue and a clamp. Surface scratches add character. But compromised structural integrity or particle board that’s already swelling from water damage? Those are red flags to walk away.
Let me break down where I’ve had the most success finding furniture that actually lasts:
| Source | Pros | Cons | Best Finds |
|---|---|---|---|
| Facebook Marketplace | Great prices, can see before buying, negotiable | Time-consuming to search, must arrange pickup | Solid wood desks, office chairs |
| Thrift Stores | Hidden gems, rock-bottom prices, charity support | Hit or miss inventory, no delivery | Bookshelves, filing cabinets |
| IKEA/Target | Reliable quality at low price points, easy returns | Assembly required, can feel generic | Storage cubes, small desks |
| Estate Sales | High-quality older furniture, everything must go pricing | Limited timing, competitive shoppers | Solid wood tables, vintage shelving |
The best homeschool furniture investment I ever made was a $40 solid oak table from a garage sale. It seats all three kids comfortably and has withstood science experiments, art projects, and daily lunch. Compare that to the $200 particle board table my neighbor bought new that started sagging within six months.
When shopping secondhand, bring a friend who can help you load furniture and give honest opinions. Check drawer glides by opening and closing them several times. Sit in chairs with your full weight. Look underneath tables for manufacturer marks, which often indicate better quality. And don’t be afraid to negotiate, especially if you’re buying multiple pieces.
For new purchases, stick with solid wood or metal frames whenever possible. Those $99 student desks at big box stores? They’re fine if you choose ones with metal legs and wood tops rather than all particle board. I’ve had good luck with basic utility shelving from home improvement stores too, the kind meant for garages. They’re sturdy, cheap, and honestly, once you add some bins and books, they look just fine in a learning space.
Free and Low-Cost Materials That Make Learning Come Alive
Here’s something I discovered early on: you don’t need to spend hundreds of dollars on fancy curriculum materials to create a rich learning environment. Some of our most memorable lessons happened with resources that cost absolutely nothing.
Your local library is an absolute goldmine. Many homeschooling families cite the public library as their most valued resource, and I completely understand why. Beyond books, most libraries offer museum passes, educational DVDs, audiobooks, and even hands-on STEM kits you can borrow. Our librarians became our partners in education, often setting aside books they thought would interest my children or alerting us to special programs.
Free printables are everywhere online if you know where to look. Educational websites offer worksheets, coloring pages, notebooking pages, and games that you can download and print at home. I kept a simple three-ring binder system to organize our favorites by subject, which cost maybe five dollars total.
But honestly, some of the best learning materials are already in your home. Dried beans become math manipulatives for counting and sorting. Empty egg cartons transform into fraction lessons or science specimen organizers. Cardboard boxes become dioramas, forts, or geography projects. Kitchen measuring cups teach volume and fractions while you’re baking together.
I also learned to think creatively about repurposing. Old magazines became collage materials and writing prompts. Cereal boxes turned into homemade puzzles and alphabet practice. Nature walks provided free science specimens: leaves for classification, rocks for geology lessons, and sticks for measurement activities.
The key is shifting your mindset from “what do I need to buy?” to “what can I use differently?” This approach not only saves money but also teaches children resourcefulness and creativity, which are valuable life skills they’ll carry far beyond their homeschool years.
The Storage Solutions We Found for Under $50
I’ll be honest—when we started homeschooling, I went a little overboard with Pinterest-perfect storage ideas. Then I looked at my bank account and had to get creative. The good news? After years of trial and error, I’ve discovered that the best storage solutions are often the simplest and cheapest.
My absolute favorite find has been clear plastic shoe boxes from the dollar store. At $1.25 each, I bought a dozen and never looked back. They’re perfect for storing crayons, markers, small DIY math manipulatives, and art supplies. The clear sides mean my kids can actually see what’s inside, which cuts down on the constant “Mom, where are the colored pencils?” questions.
Here’s how I created our entire storage system for under $50:
- Start with what you already own—repurpose shoe boxes, coffee cans, and mason jars before buying anything new.
- Grab a three-tier rolling cart from discount stores like Dollar General or Five Below (usually $15-20). This becomes your mobile supply station.
- Pick up 6-8 plastic bins or baskets that fit your shelves (dollar stores are your friend here).
- Label everything using masking tape and a marker—no fancy label maker needed.
- Assign each child their own color of bins so materials don’t get mixed up.
What I’ve learned is that expensive doesn’t mean better. I once splurged on beautiful wicker baskets that cost $12 each. They looked gorgeous but fell apart within months. Meanwhile, my $3 plastic bins are still going strong three years later.
The biggest game-changer? Command hooks. A pack of six costs about $8, and I’ve used them to hang everything from headphones to art smocks to our daily schedule. Combined with free homeschool resources you can print and organize, you’ll have a functional system that doesn’t require a second mortgage.
Remember, your kids won’t remember whether their supplies were stored in designer baskets or dollar store bins. They’ll remember learning together in a space that worked for your family.
Making Your Space Work for Multiple Ages and Subjects
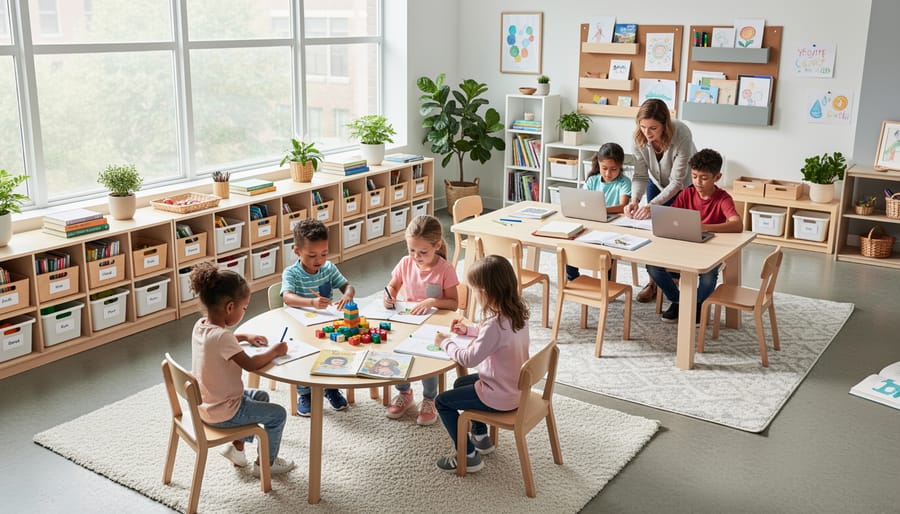
When I first started homeschooling, I had a second grader working on multiplication tables while my kindergartener needed help holding a pencil correctly. Sound familiar? The good news is that you don’t need separate rooms or expensive furniture systems to make multi-age homeschooling work beautifully.
The secret is creating flexible zones rather than dedicated spaces for each child. I used a simple folding room divider from a thrift store (five dollars!) to give my older child a quiet corner for focused work while younger siblings played nearby. When we needed everyone together for read-alouds or group activities, the divider folded away instantly.
For math especially, shared resources across ages work wonderfully on a budget. Manipulatives like blocks, dried beans, or even Legos serve different purposes for different grades. My third grader used them for fractions while my first grader counted by tens. One set of materials, multiple learning levels.
Consider establishing a rotation system for your main table or workspace. Mornings might belong to your older student tackling independent subjects like math or writing, while afternoons shift to hands-on activities where everyone participates together. This approach maximizes your space without requiring additional furniture.
Storage bins labeled by child or subject keep materials accessible without chaos. Dollar store containers work perfectly for this. Stack them on existing shelves or under tables to keep floor space clear.
The beauty of organizing your homeschool for multiple ages is that it actually encourages valuable life skills. Kids learn to work independently, respect others’ learning time, and adapt to different environments. These are lessons no expensive learning center could teach better.
When to Splurge (Yes, Sometimes It’s Worth It)
Let me be honest with you—after seven years of homeschooling, I’ve learned that strategic spending can actually save you money in the long run. Not everything needs to be DIY or secondhand.
A quality math curriculum is worth the investment. When I finally bought a comprehensive program instead of piecing together free resources, I saved countless hours of prep time and saw real progress with my kids. Look for curricula that work across multiple grade levels, especially if you’re teaching multiple ages. That $200 investment suddenly becomes $50 per child when you use it with four kids.
Good reference books are another smart splurge. A comprehensive encyclopedia set, quality atlas, or illustrated science encyclopedia gets used year after year. I bought a used set of Childcraft books for $75 six years ago, and we still pull them out weekly.
Consider investing in durable manipulatives like base-ten blocks, fraction tiles, or a good microscope. These hands-on tools make abstract concepts concrete and last through multiple children. I’ve never regretted buying our $60 microscope—it’s sparked more genuine learning than many expensive curriculum packages.
The key is choosing items that offer longevity, serve multiple purposes, and truly enhance learning. Don’t feel guilty about these strategic purchases. You’re not being extravagant; you’re being wise with limited resources.
Here’s the truth I wish someone had told me when I started homeschooling: your children need you, not expensive curriculum packages or Pinterest-perfect learning spaces. I remember those early days, worrying that my modest setup wasn’t enough, comparing myself to families with entire rooms dedicated to homeschooling. But looking back now, the most meaningful learning happened at our kitchen table, with library books and conversations that cost nothing at all.
Start exactly where you are, with what you already have. That shelf in the corner? That’s your homeschool space. Those books you’ve collected over the years? They’re your library. Your enthusiasm and commitment matter infinitely more than your budget. I’ve seen families create incredible educational experiences with garage sale finds and free resources, while others struggled despite expensive materials.
Your homeschool journey won’t look like anyone else’s, and that’s exactly how it should be. What budget-friendly solutions have worked for your family? I’d love to hear your creative ideas because we’re all learning together. Remember, homeschooling success comes from intentionality and love, not from how much you spend. You’ve got this.